The Tasker Twirl Matting(framing)Technique

The Tasker Twirl Matting(framing)Technique
A fellow imager,Tasker was kind enough to explain how he achieved a cool effect when framing his work. I did some experimenting which revealed some very satisfying results.
Although the results INITIALLY may not be of complimentary colors to the Dominating Image of work.....the art of Manipulating graphics takes care of that. So for now...the focus is on the Matte/frame NOT your primary Image.
It's really fairly simple,but involves several steps.
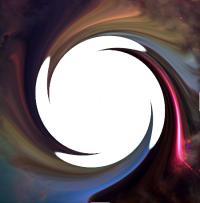
Now THAT is the first half of the "drill". You will have a large white area in the center--it's shape will depend on the parameter entered when SWIRLED.
THIS IS THE MAGIC...THE number entered into the parameter box @SWIRL.
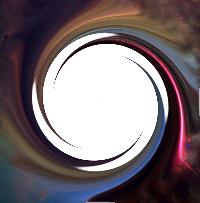
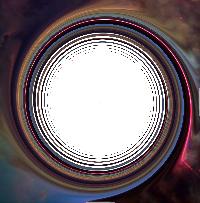
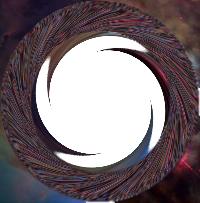
Below are examples of some of those parameters.

SWIRL@550

SWIR@800

SWIRL@3500

SWIWL@250000


I could keep going,but it's not necessary...This is all there is to it.
The only limitation to Imagination is the degree of Courage to experiment.~~~Morgue Mama
Final finishing step.
You are thrilled with the Matte,but there is this ugly white space(may be another color,sometimes is).
Under this coveted piece of pending "art" are the boxes for Paint.
Next page............BAM!!! Now out put.
If Using this right away OUTPUT as a gif.Otherwise U may want to OUTPUT JPG and then when U go use it reverse it back to a gif......................I'm not going there.
First, to show the reader the varied effects achieved by,as I refer,"tweaking" some of the parameters.
Here are just a couple of examples.

Here's the frame(shrunk) for my grandbaby's pic
